| Sage Accpac ERP |
|
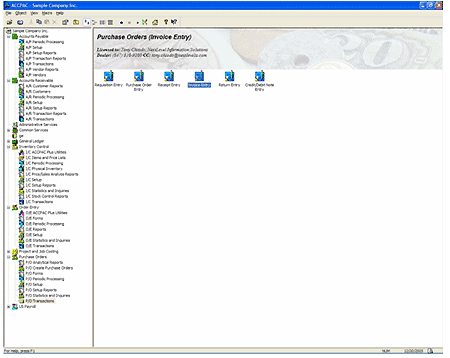
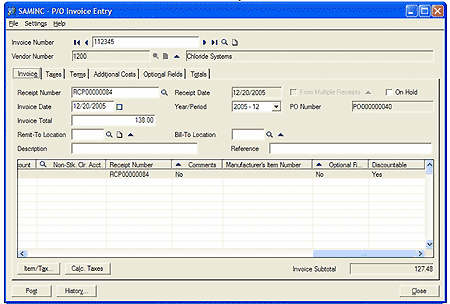
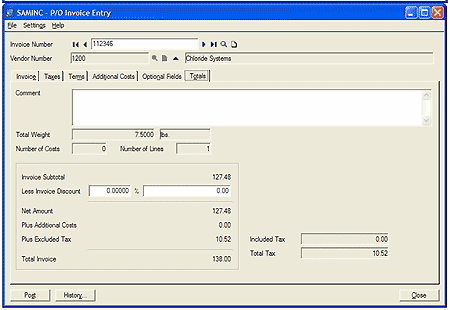
Q: How do you create multiple Purchase Order Invoices from One Receipt. A: 1) Open Invoice Entry in the Purchase Order module.
2) Enter the Invoice Number, Vendor Number, and Receipt Number
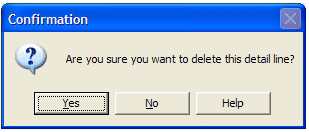
3) Select the detail line that is not on the Invoice which you wish to remove. 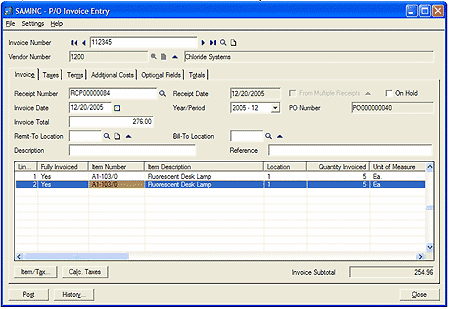 4) Hit the delete key on the keyboard and click yes when prompted with the below confirmation box.
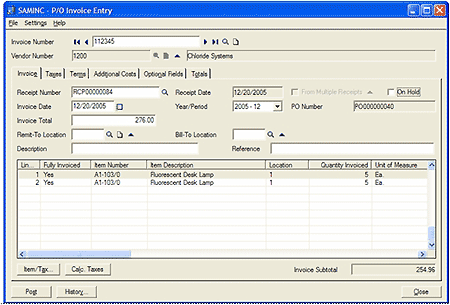
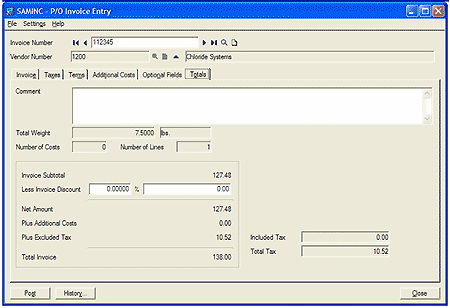
5) Once you have only the detail lines which appear on the invoice, change the Invoice Total to the correct amount. Add any additional costs or include any steps in your normal procedure. You can also click on the Total Tabs to verify the amount matches the invoice.
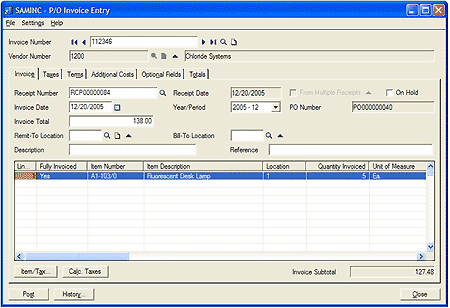
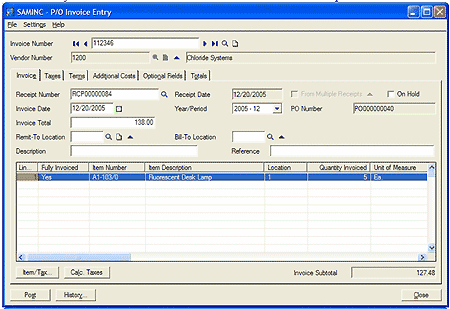
6) Once you verify that the totals match, click the Post button and the invoice is posted. 7) When you get the second invoice, open Invoice Entry and enter the Invoice Number, Vendor Number and the Receipt Number. Notice the detail line previously invoiced no longer shows.
8) Add any additional costs or include any steps in your normal procedure. Click the Totals Tab to verify the Invoice Totals match. Click the Post button the post the Invoice.
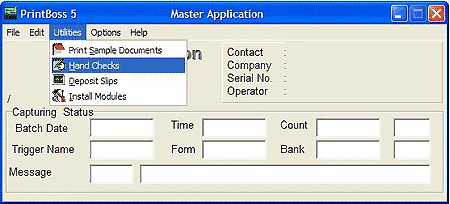
Q: How do you print an Accounts Payable Blank Check in PrintBoss. A: 1) The first step is to open PrintBoss and click on the Utilities menu and then Hand Checks.
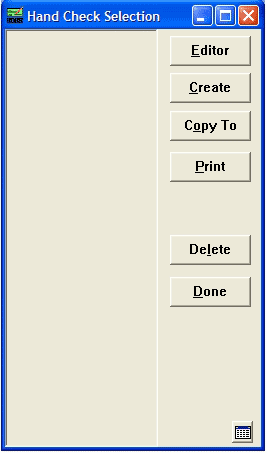
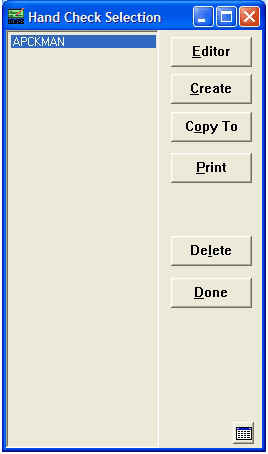
2) Click on the Create button.
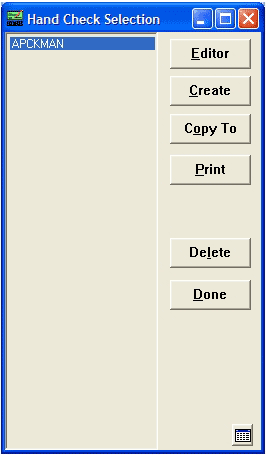
3) Enter a unique name such as APCKMAN.
4) That unique name will now be highlighted, so click the Editor button.
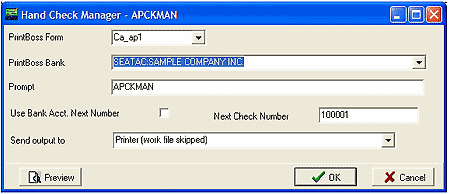
5) Select your PrintBoss Form, select your PrintBoss Bank, enter a Next Check Number (You should use a different set of check numbers for these checks that you use for your normal Checks), click Preview if you like, and if the check looks correct, click ok.
6) Put a check and the MICR Toner in your physical printer and click the Print button and the check will print.
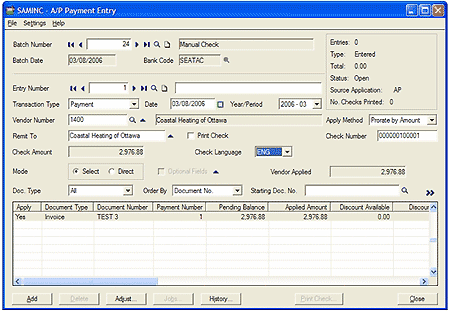
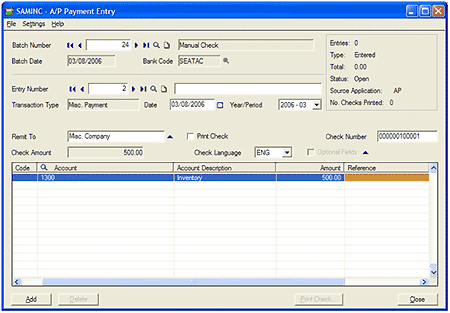
7) Once the check is written out, it must then be entered into Accpac. If the check was for a vendor currently in Accpac, enter and post an Accounts Payable Invoice. (If the check was made out to a miscellaneous company you do not wish to add as a vendor in Accpac, see step 9) Create a new Accounts Payable Payments batch. Enter a Batch Description, the Vendor Number and uncheck the Print Check box. Once the Print Check box is unchecked you may enter the Check Number you entered previously on the PrintBoss check. Apply the Payment to the Invoice and click the Add button. Click the Close button.
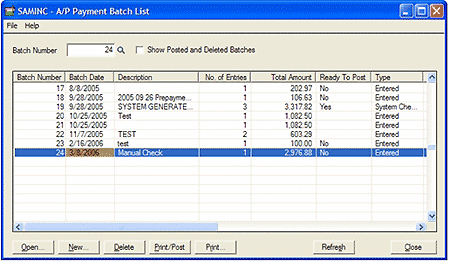
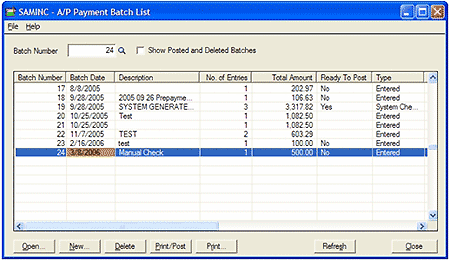
8) Click the Print/Post button for the batch you just created in the Payment Batch List to post the transaction.
9) If you do not want to add this company as a vendor in Accpac, you must enter a Miscellaneous Payment. Create a new Payment Batch. Enter all the correct information for the Miscellaneous Payment and uncheck the Print Check box. Once the Print Check box is unchecked you may enter the Check Number you entered above on the PrintBoss check. Click the Add button and then click the Close button.
10) Click the Print/Post button for the batch you just created in the Payment Batch List to post the transaction.
|
| Sage Accpac CRM |
|
Q: Is it possible to upload multiple addresses for the same company? A: You can upload more than one address for a company. There are several important steps that need to be completed in order to successfully complete this procedure. The first step is the upload file needs to have all the addresses in the same row. The next step is to configure upload configuration screens in CRM. If you are interested, please contact your AXIS Solution Provider or see your CRM administrator for further information. Q: Can I upload selection type fields such as Territory, Account Manager, Source, etc? Every time I try to Data Upload this type of field, the value is not being imported properly or the imported value disappears after re-saving the information from the application. A: The proper way to Data Upload selection type fields such as Territory, Account Manager, Source, etc. is to use the actual Code value or ID value that is stored in the database. If you are interested, please contact your AXIS Solution Provider or see your CRM administrator for further information. Q: Is it possible for CRM to validate case sensitive entries? A: This can be done by forcing the first letter of each word to upper case, and all subsequent letters to lower case. There are two items you need to be aware of before you decide to use this.
If you are interested, please contact your AXIS Solution Provider or see your CRM administrator for further information. |
| Sage Pro ERP |
|
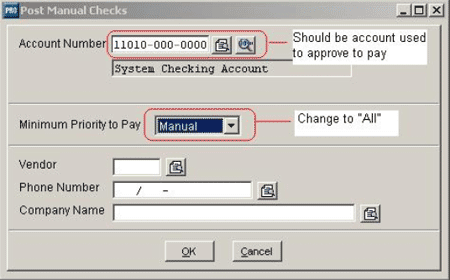
Q: Why can’t I view my approved checks when entering manual checks? A: This can be due to two possible situations: 1) The invoice in question was approved to pay to another checking account other than that used during the manual check process. 2) The option for Priority on the manual check option grid is filtering out the invoice in question. Please refer to the screen shot below for details.
Q: Why do I get the message “Approved debits exceed approved invoices” when trying to print checks for a vendor? A: This message will appear in the following scenarios: 1) Debit memos approved exceed the invoices approved for the same vendor (cannot create a negative computer check). Use the Approve to Pay report to confirm. 2) If alternate remit to addresses are used (APMAST table TOSW field with an “X”) it will create a separate check for the invoice and not be included with other invoices using default remit to addresses. This can be a common user error when approving to pay since the user believes they have approved enough invoices to be a positive amount. They may not take into account that separate checks are created in this scenario that both need to be positive. Q: Why an item saved to a new location does not appear on the Cycle Count Worksheet? A: The issue is a result of this item having no records in the ICIQTY table for that location. When an item is saved to a location (in an Average Cost company) a record is created for the item in the ICITEM and ICILOC tables. However, nothing is recorded in the ICIQTY table until quantity is received for the item at that particular location. The Cycle Count Worksheets look to the ICIQTY table and print a listing of the Item Number, Description, Location and Stock Unit of Measure for the item. Therefore if there no record exists for that item in ICIQTY, it will not appear on the Cycle Count Worksheets. This issue can be resolved by creating a record in ICIQTY for this item. This can be done via
Note: Creating an on-hand quantity for an item will have accounting implications. |
| Back to Top^ |
Search The Site
RSS & Newsletter Subscription
Axis Videos
-
Recent Posts
Categories
Blog Archives




 Download our corporate brochure for more facts about us, our
clients and our solutions.
 Driving Revenue Growth 1
 Satisfying Customers 1