| Sage Accpac ERP |
Q – What year end functions must be done in Sage Accpac ERP?A – The only required functions are to create a new Fiscal Calendar year in Common Services and to run the General Ledger Create New Year function.
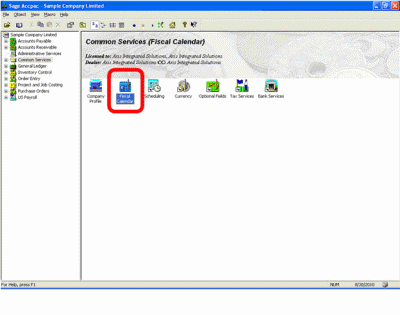
The Fiscal Calendar is located under Common Services.
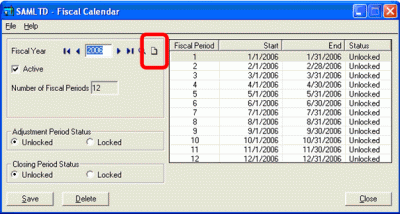
To create a new year in the Fiscal Calendar, click on the New button next to Fiscal Year.
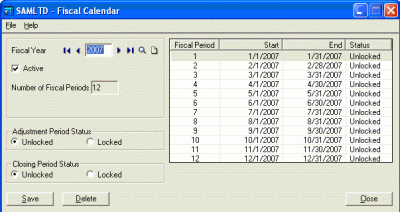
The new Fiscal Year is created. Verify the Start and End dates then click Save and Close.
Note: Transactions can still be posted to the previous year once the Create New Year function has been run as long as the fiscal period the transaction is being posted to and the closing fiscal period in the Fiscal Calendar are unlocked. Once the transaction is posted, additional closing transactions are automatically posted to the closing fiscal period. Additional year end maintenance can also be performed, but it’s not required and most is not recommended as history and functionality are lost.
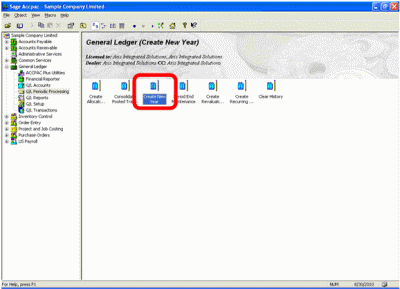
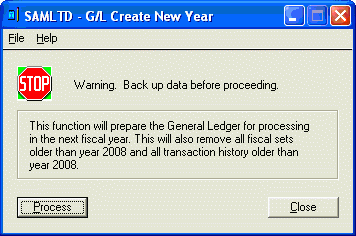
The Create New Year function is located under the General Ledger Periodic Processing icon. Make sure you back up your data before running this process.
Verify the period for which all previous fiscal sets will be cleared then click Process when you are ready to run the Create New Year function.
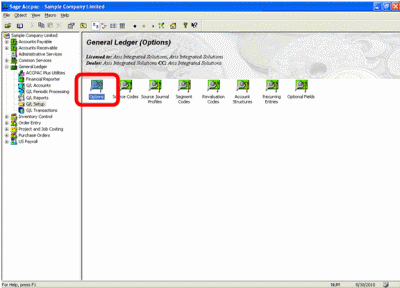
Verify the new year was created properly by opening the General Ledger Setup Options form.
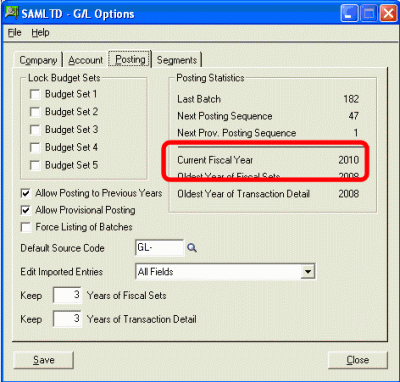
Click on the Posting tab and the new fiscal year will shown next to the Current Fiscal Year. If you have any questions or need additional assistance, please contact your AXIS consultant or email us at info@axisglobalpartners.com for more information. Q – How do I download and install my latest Payroll tax update? A – The Payroll tax update is downloaded from the Sage website www.sageaccpac.com.
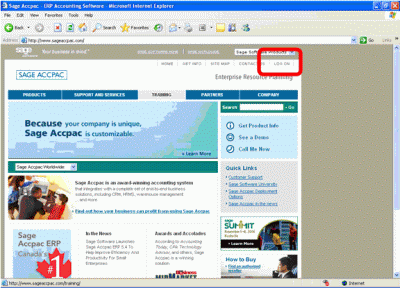
Click Log On.
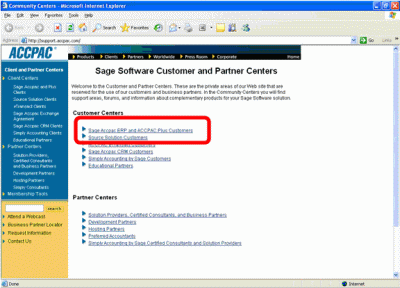
Click on Sage Accpac ERP and Accpac Plus Customers.
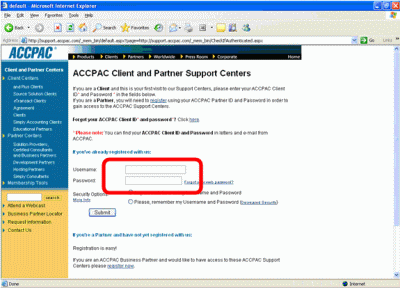
Enter your Username (Client ID) and Password. This can be found on any correspondence you have received from Sage Software or by calling Client Care at 800-253-1372.
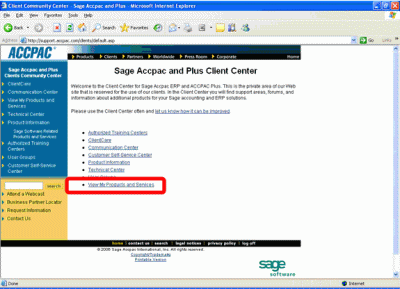
Click View My Products and Services.
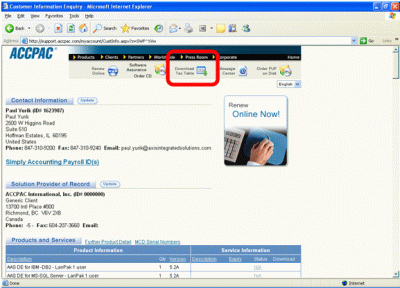
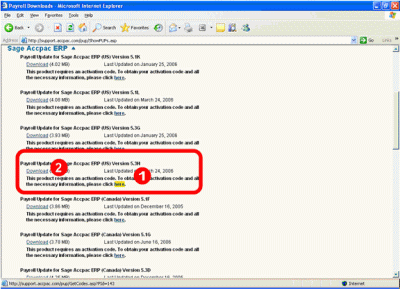
Click Download Tax Table.
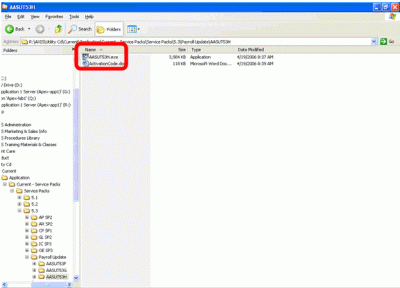
Locate the latest tax update.
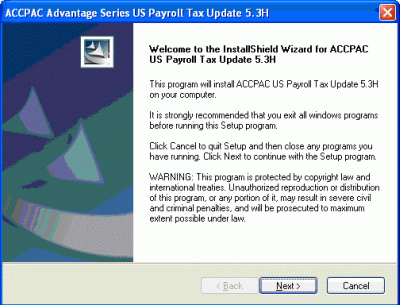
Double click on the program to run it.
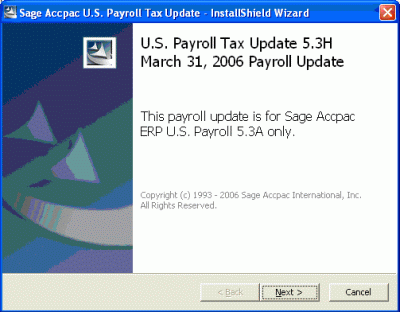
Click Next.
Click Next.
Click Next.
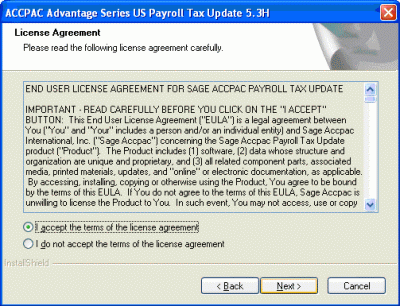
Click I accept the terms and Next.
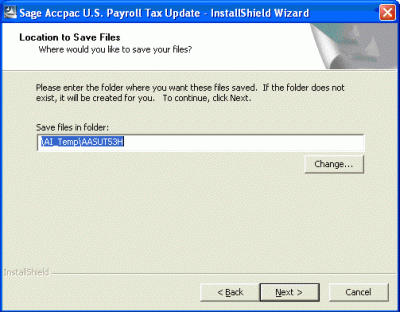
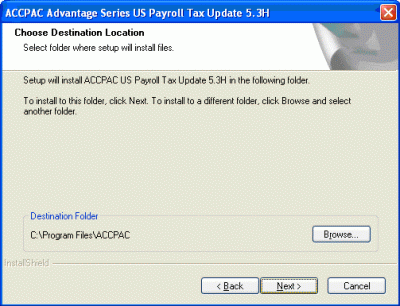
Verify the Destination folder then click Next.
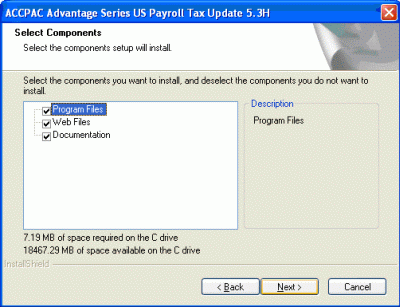
Click Next.
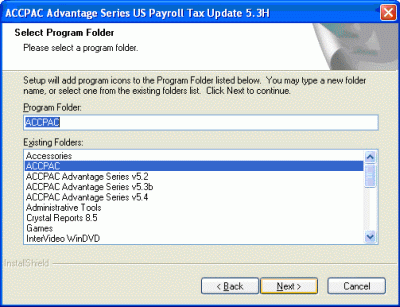
Verify the Program Folder then click Next.
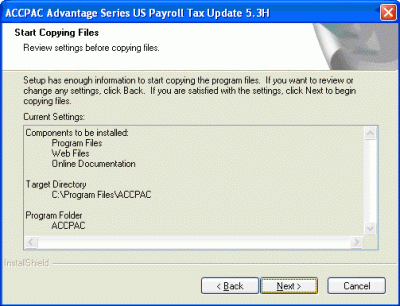
Click Next. The tax update gets installed. Click Finish when it completes. Before proceeding, backup your database.
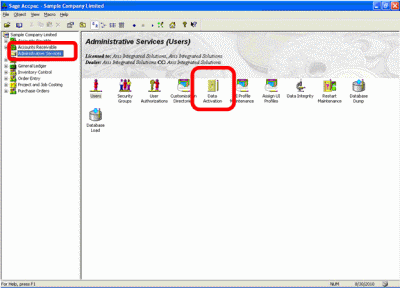
Open Accpac as the Admin User. Under Administrative Services, click on Data Activation.
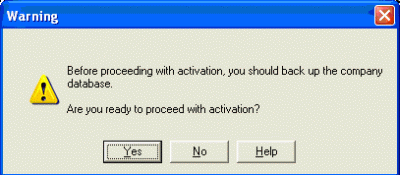
Click Yes.
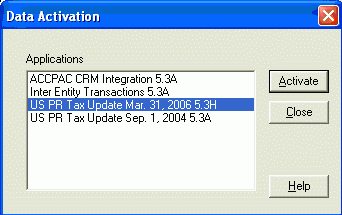
Make sure the proper Tax Update is highlighted and click Activate.
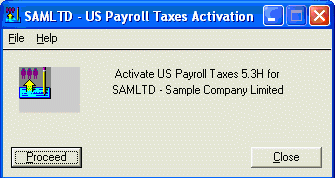
Click Proceed and the activation process will complete.
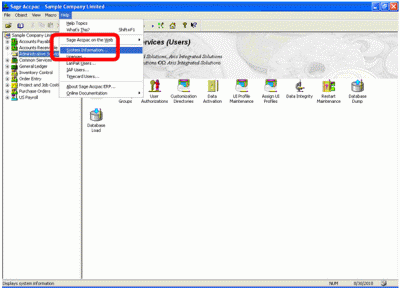
Verify the Tax Update installed properly by clicking on Help and System Information.
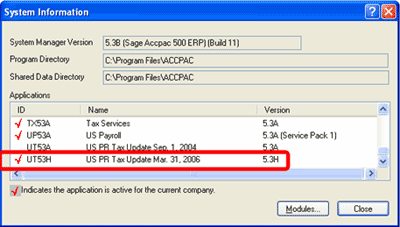
Scroll down until the Tax Updates are displayed and the red check mark will show next to the latest Tax Update just installed. |
| SageCRM |
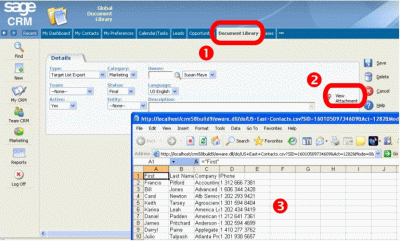
| Q – How do I view an Exported Target List? A – When a CSV file is exported from a Target List, it is added to the document library, and can be viewed from the Document Library tab.
Q – Can I see the Dashboard as soon as I log on?
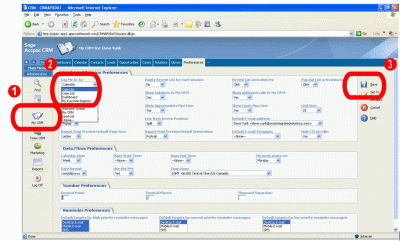
A – Yes – You can set the first page you see when you log on to CRM as the Dashboard.
|
| Sage Pro ERP |
| Q: How do I get rid of the message “Error 1925: Unknown member IO_PROCCCLIENT”?A: This error will occur only if the workstation installation has not been completed after the conversion. Each workstation should run the workstation installation located inside the Sage Pro root directory to avoid the error. Note: If these issues continue after running the workstation installation, the user installing Sage Pro may not have the proper privileges on the workstation to allow those files to be installed. Q: A:
Important Postings to the revenue, accounts receivable, and sales tax liability accounts go to the AR distribution file (ARDIST) and can be seen on the AR Journal report. Postings that affect inventory and COGS go to the Inventory Control (IC) distribution file (ICDIST) and can be seen on the IC Journal report. Q: How can I find Pro Series temporary files path settings? A: To find the temporary path settings, follow the steps listed below:
This value is stored in the idostmp field, in the SYCINST table and can be verified through FoxPro Access. Note: Please be aware that the path setting displayed in the Paths tab of the Technical Information screen refers to the TEMP Environmental Variables for Microsoft Windows; not the Temp path configured for Sage Pro ERP |
| Back to Top^ |
Search The Site
RSS & Newsletter Subscription
Axis Videos
-
Recent Posts
Categories
Blog Archives



 Download our corporate brochure for more facts about us, our
clients and our solutions.
 Driving Revenue Growth 1
 Satisfying Customers 1